Hosting MKDocs in Cloudflare pages
I've been thinking for quite some time where to host this blog. At first, I used GitHub Pages, and it worked great for a while. However, I was still missing something important, metrics. GitHub Pages offers some metrics that indicate how many visitors you have, but these numbers don't accurately reflect the actual traffic to your site—instead, they show how many people visit your GitHub repository. So, I started looking for alternative solutions that provide better analytics. That's when I discovered Cloudflare Pages, a free hosting service with built-in analytics.
CloudFlare Pages
Note
Feel free to skip to next section if you are already familiar with what CloudFlare Pages is. I think it's important to include at least a brief summary to help everyone better understand what's going on here.
Cloudflare Pages is a fast, secure, and scalable platform for deploying static websites directly from your Git repository. It supports modern web development workflows by integrating seamlessly with tools like GitHub and GitLab. With every commit or pull request, Cloudflare Pages can automatically build and deploy your site using frameworks like MkDocs, Hugo, or Next.js, all without managing servers or worrying about infrastructure.
Some of the benefits of using cloudflare pages are:
- Global CDN by default
- Built-in CI/CD
- Supports for custom domains and SSL
- Preview deployments before the go live
- Generous free tier
- Built-in web analytics
- Free
*.pages.devsubdomain
Implementation
Create GitHub Repo
- Log into your GitHub account
- Create a new repo, either public or private
Upload your code to the repo
- Create a virtual environment
python -m venv .venv - Activate the virtual environment
source .venv/bin/activate -> If using Linux .venv\Scripts\activate -> If using Windows - Install mkdocs
pip install mkdocs - Generate the project
mkdocs <YourProjectName> - Cd into your mkdocs project folder
cd <YourProjectName> -
Generate a requirements.txt file
pip freeze > requirements.txt -
The structure of your repo should now look like:
YourProjectName: docs/ mkdocs.yml requirements.txt - (Optional) Authenticate into GitHub if you haven't already done so
gh auth login - Initialize git
git init -
Set up origin
git remote add origin https://github.com/<YourGithubUsername>/<YourRepoName> -
Add your code, commit it and push it
git status
git add <file>
git commit -m "My Mkdocs commit"
git branch -M main
git push -u origin main
Note
You can also use git add . to add everything to the next commit if you are happy with the output of the git statuscommand. As a good practice, consider using the -p flag when using git add to review ¡'changes made to files before adding them.
CloudFlare deployment
- Log into your CloudFlare account
- Head to
Compute (Workers)>Create
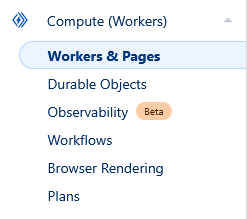
- Select
Pages& click onConnect to Git
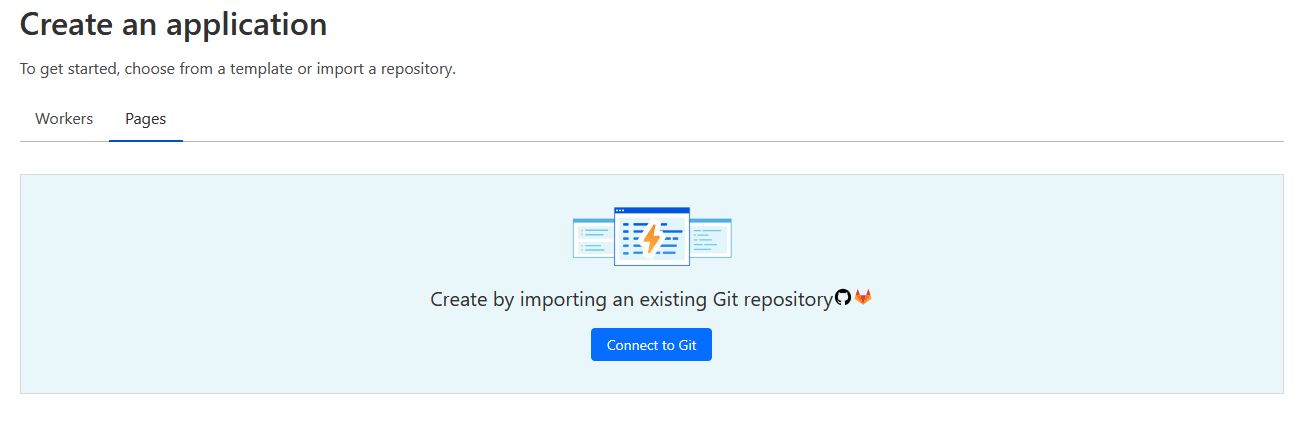
- Follow the process and grant access to the repo we just created
Note
As a good security practice, consider only granting access to the relevant repo instead to all the repos under your Github account
- Enter your
Projectname. This will be used to create your free subdomain - Select
MkDocsas your Framework preset and review the defaults:- Production branch:
main - Build command:
mkdocs build - Build directory:
site
- Production branch:
- Deploy!